Home Improvement: Bird-friendly Window
The last couple of autumns have brought beautiful large swarms of migrating finches and sparrows to our meadows surrounding our home, and last year a little chipping sparrow sadly had a fatal collision with the glass window on our garage’s side door. It broke my heart. I knew I needed to change something to keep this from happening again, and it’s been way overdue to get this window more bird-friendly.
According to Cornell Lab of Ornithology, nearly a billion birds a year have fatal collisions with glass in the USA; they see the vegetation/sky in their flight not knowing it’s a reflection. Thankfully, there’s several different methods for help with breaking up reflections on glass that can make all the difference to save a bird’s life.
One method I have implemented before at my childhood home with materials I had already had on hand, was creating a grid of garden twine (for over a large bay picture window) tied with fabric strips that could catch the wind in hopes the movement would help birds to see/slow down. It worked pretty well, but it did require small nails in the wood frame, and the twine and fabric usually lasted under a year until becoming too brittle and weathered and needed replaced again. This method would not work on the garage door on my home now, so off I went to search for some other ways to go about it, and I turned up a couple of other more appealing methods that would work better on this door.
One, was to use paint markers to draw a series of vertical lines on the glass. Seems pretty budget-friendly and not too difficult to do, but it would still require maintenance and need redone as rain and weather will break the paint down.
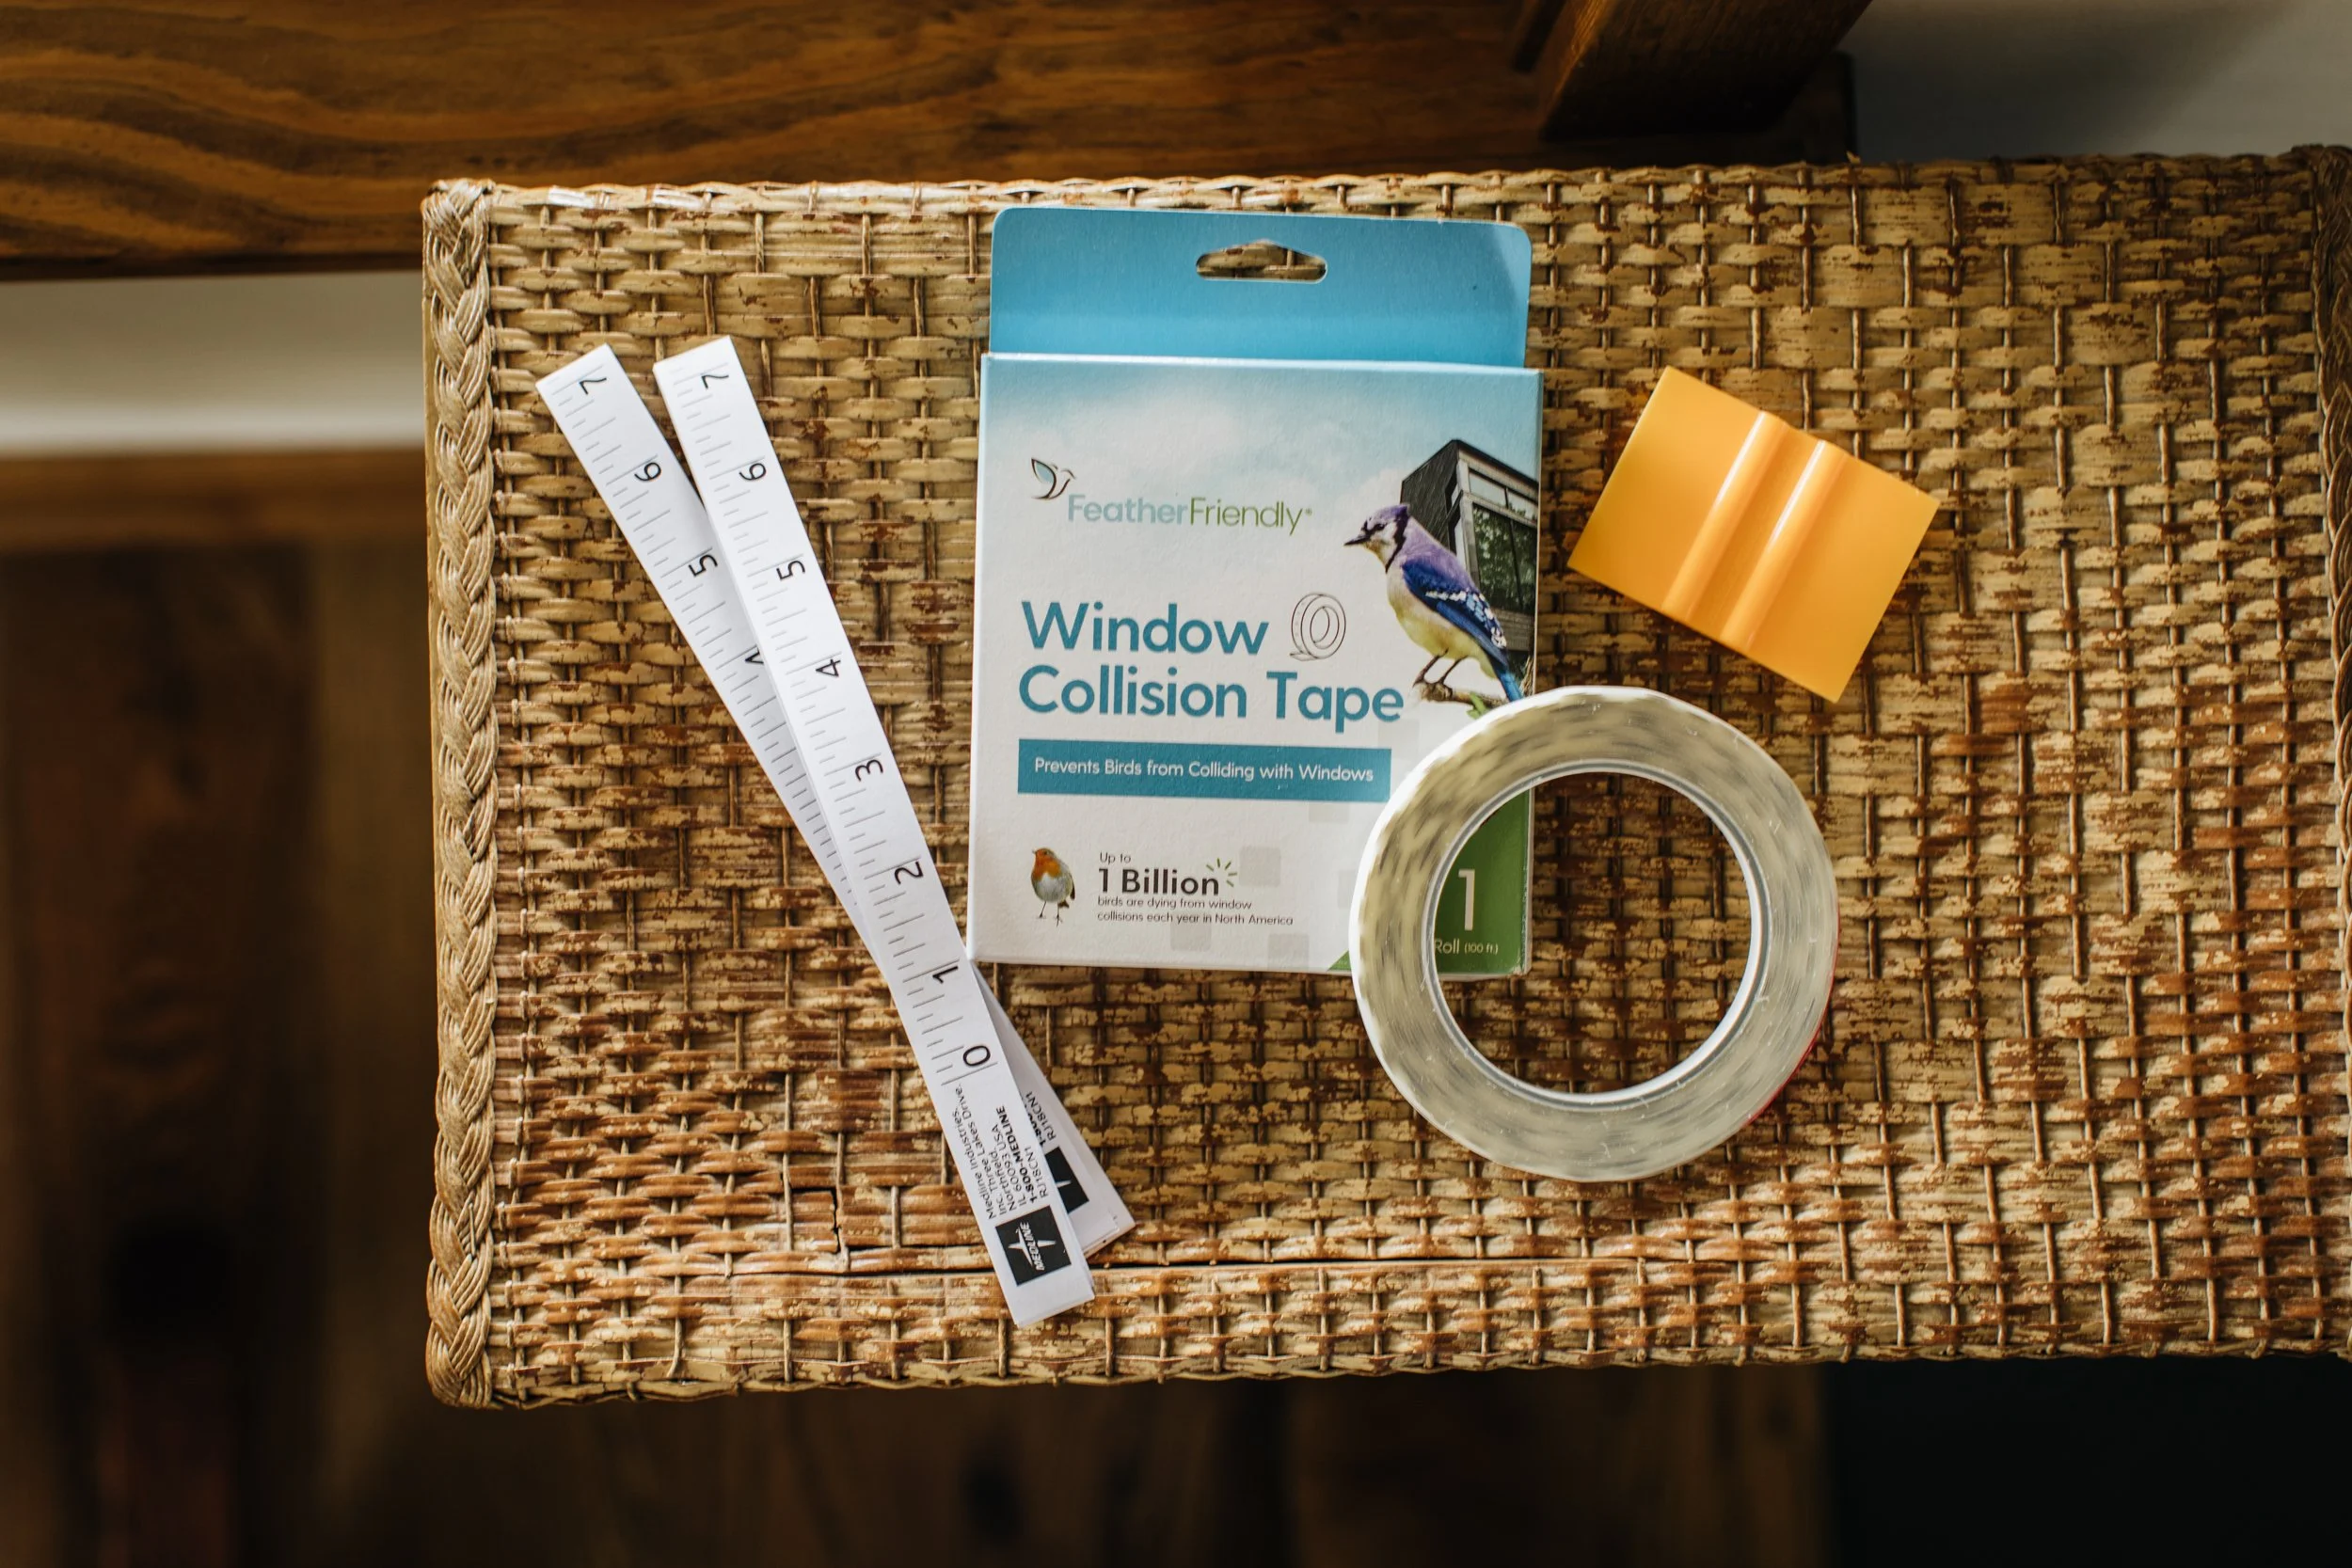
The other method that kept popping up in my searches that I ended up deciding to go for, was investing in some bird collision window tape kits. It was $20 for a roll of 100ft (plus shipping) but I can expect to get 8+ years out of it. Now, time to see how difficult or easy it is to install!
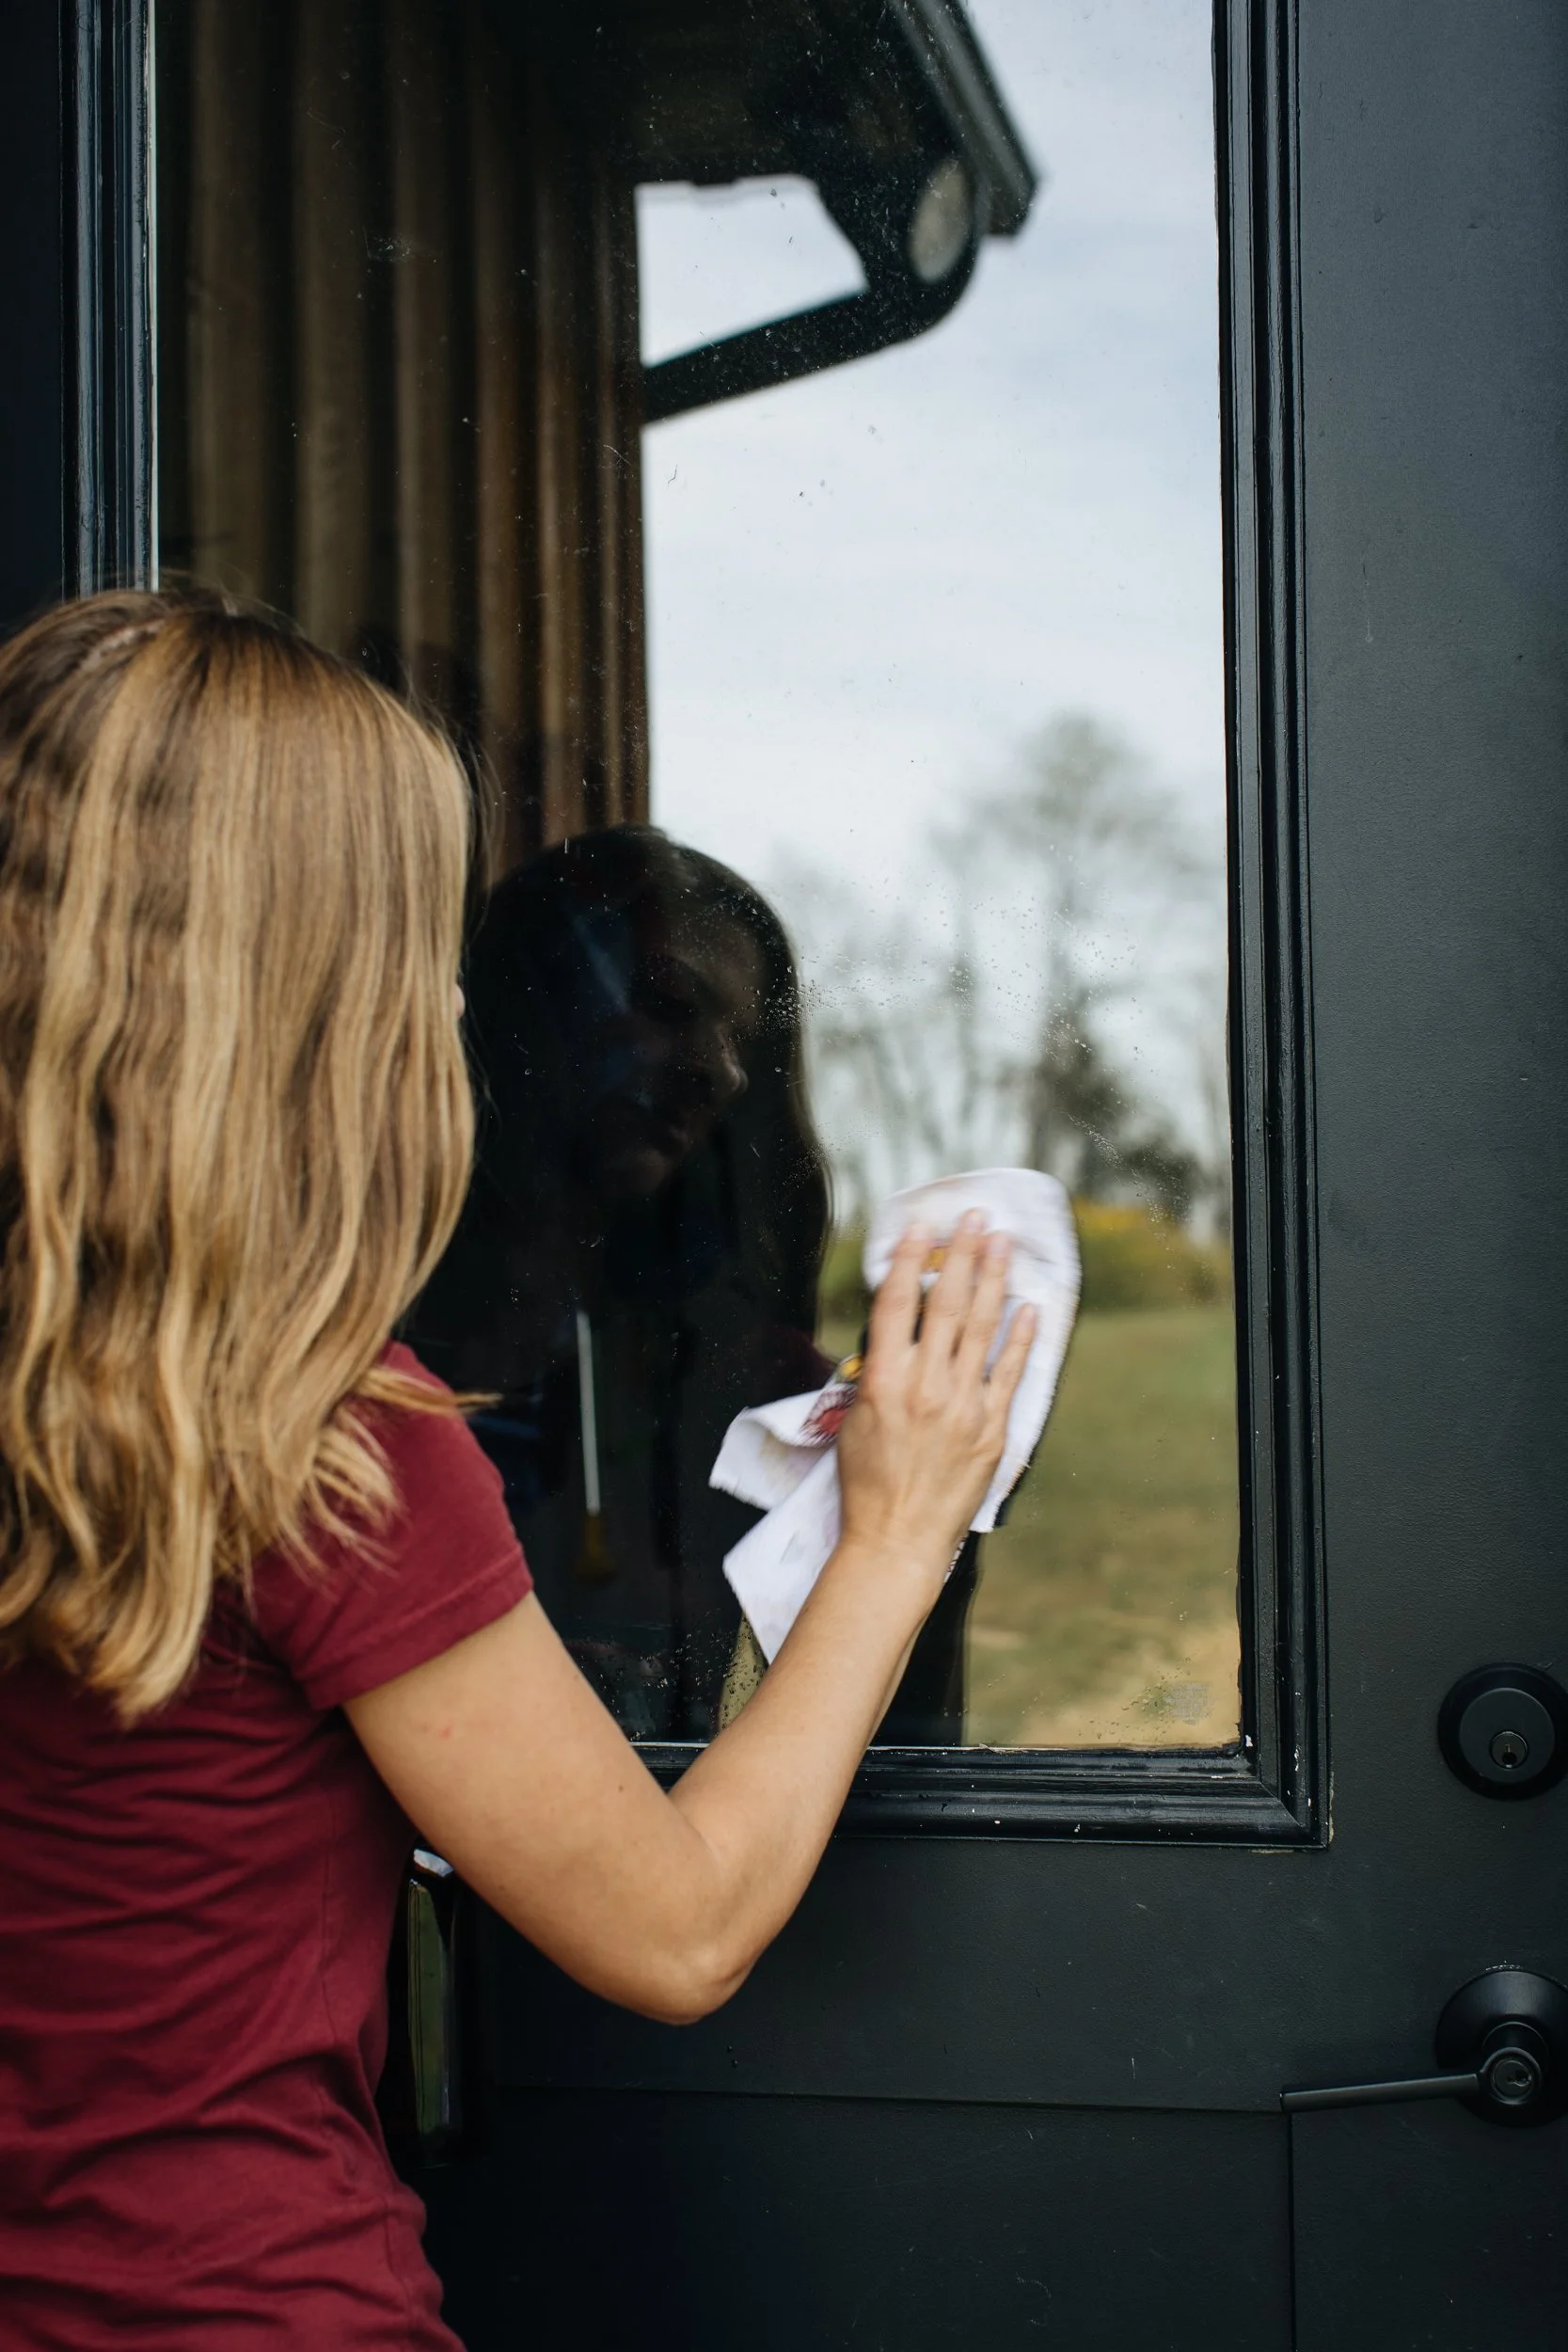
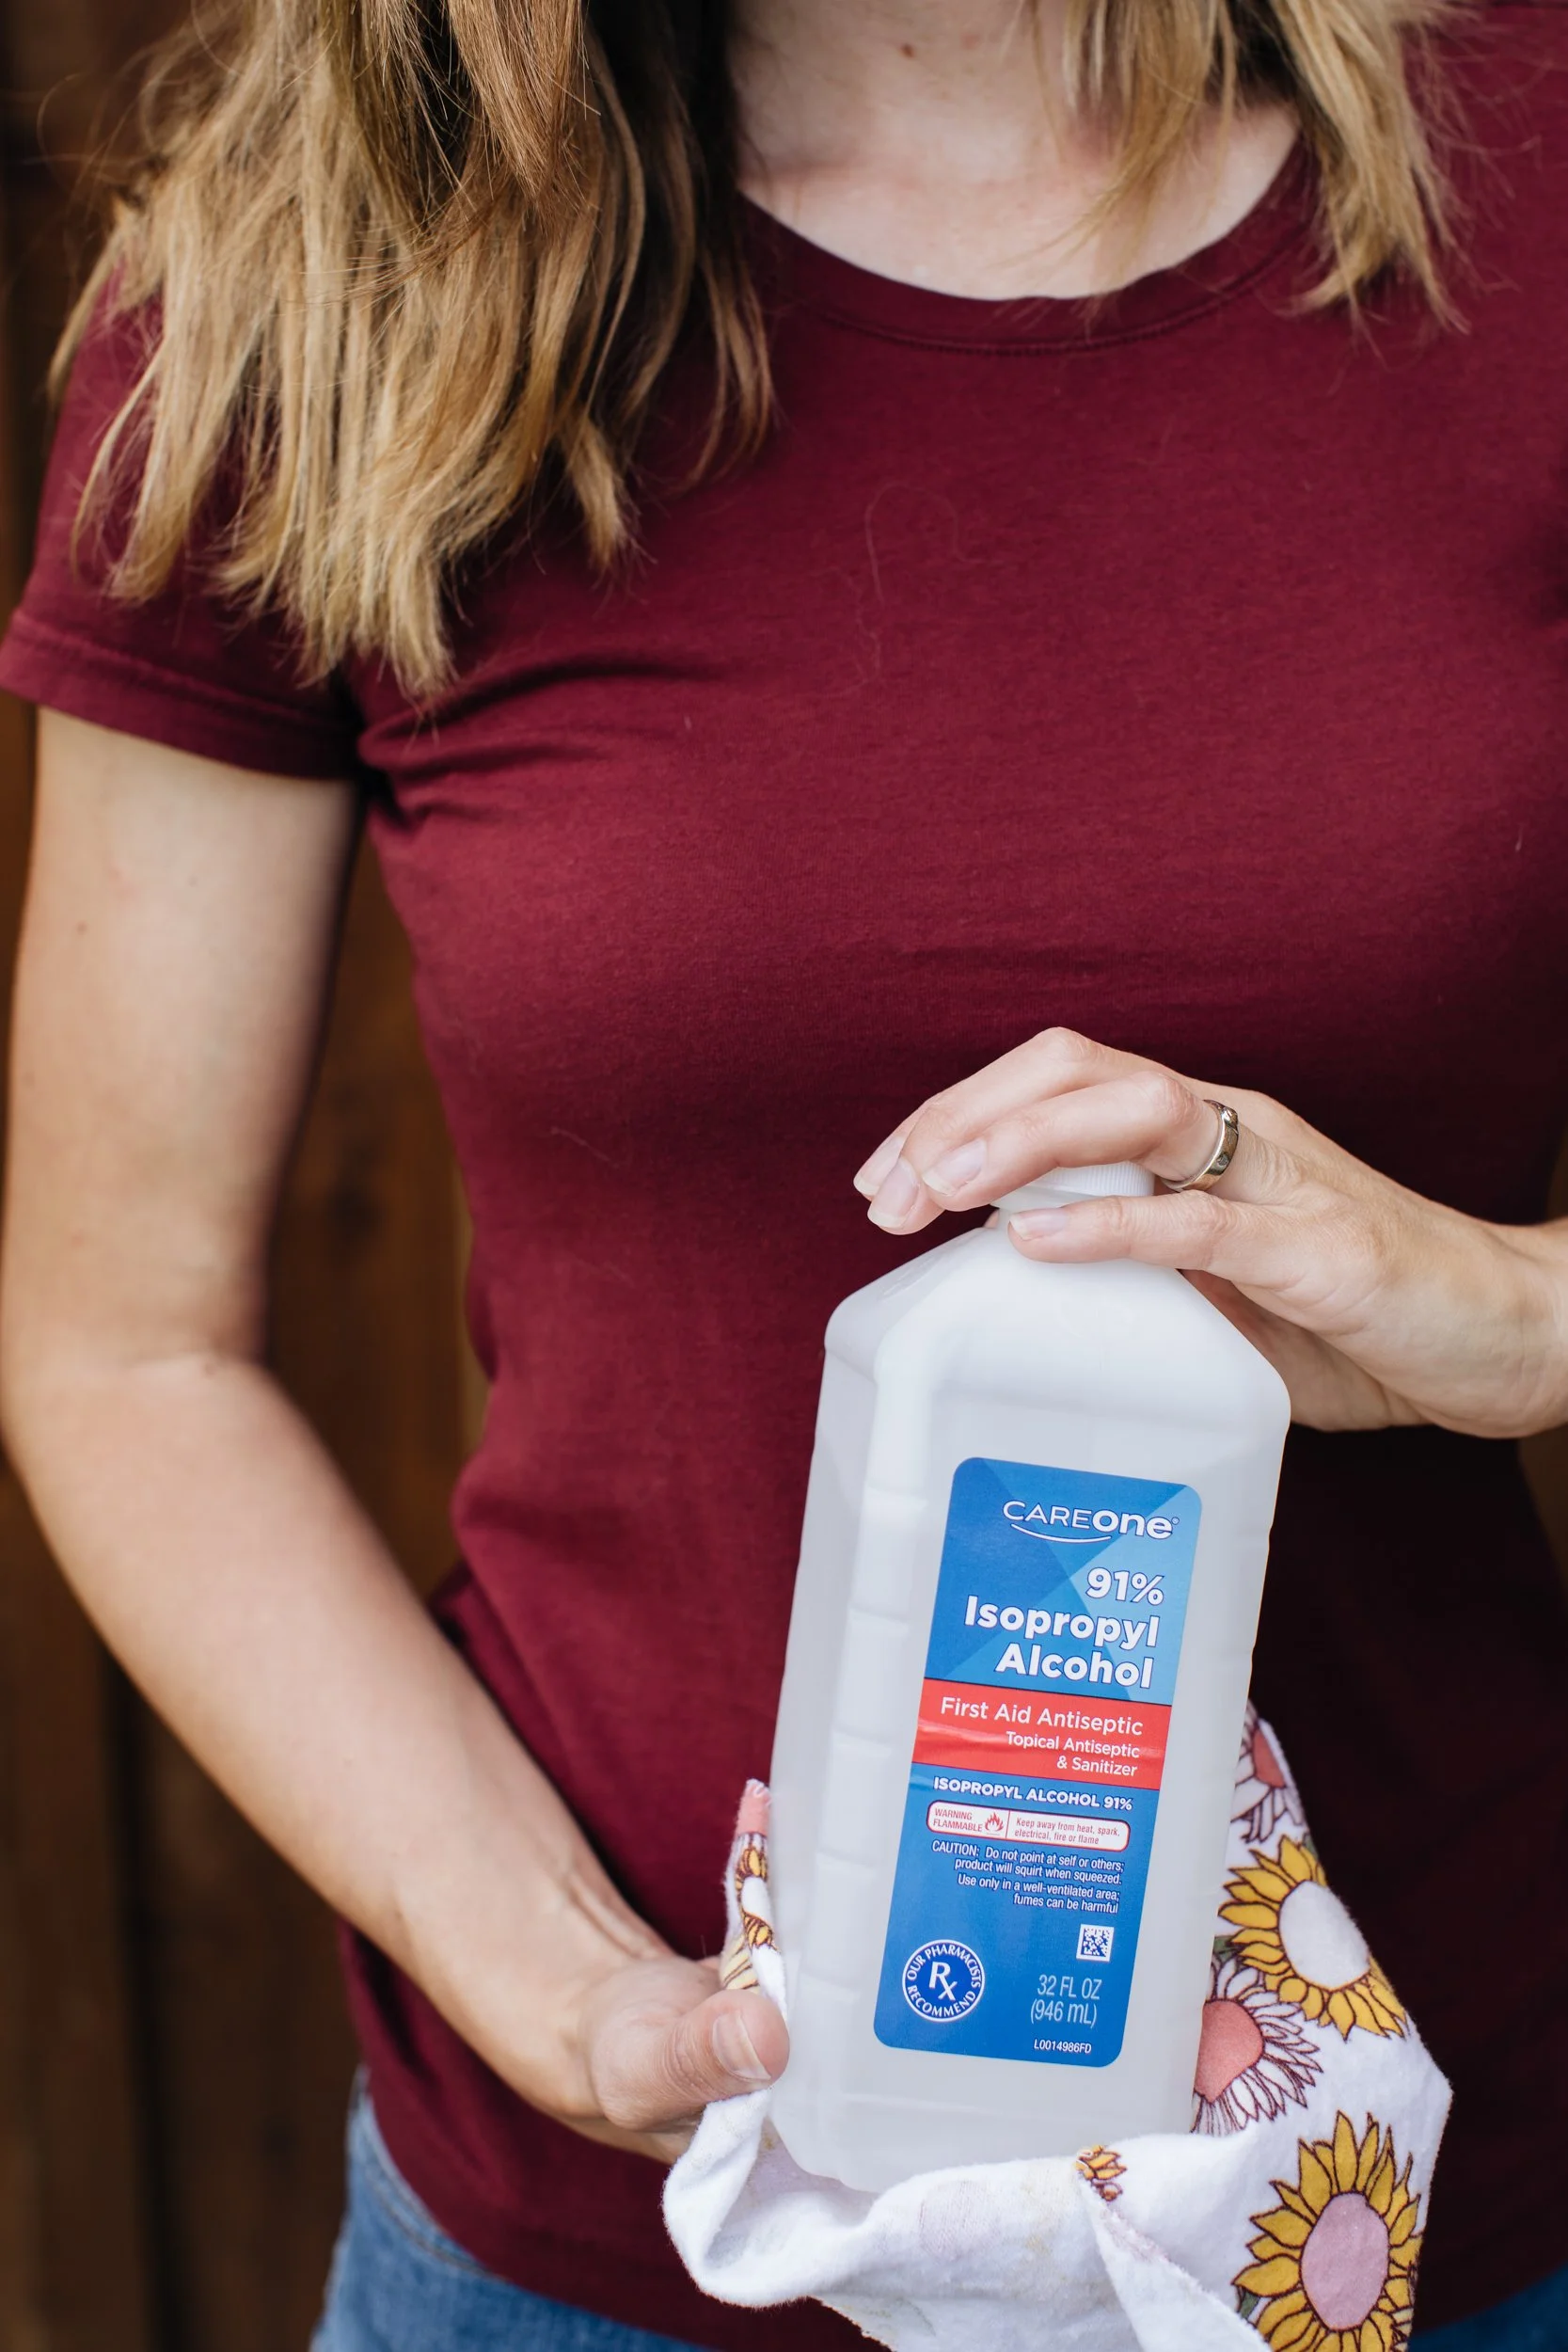
I waited for a dry, non-humid warm afternoon when the window would be in shadow (rather than direct sunlight) to begin. The first step is to prep the glass — I first used diluted vinegar to wipe down all the dirt, debris, and cobwebs, and then followed up with wiping everything smooth and clean with some isopropyl alcohol and let it dry completely.
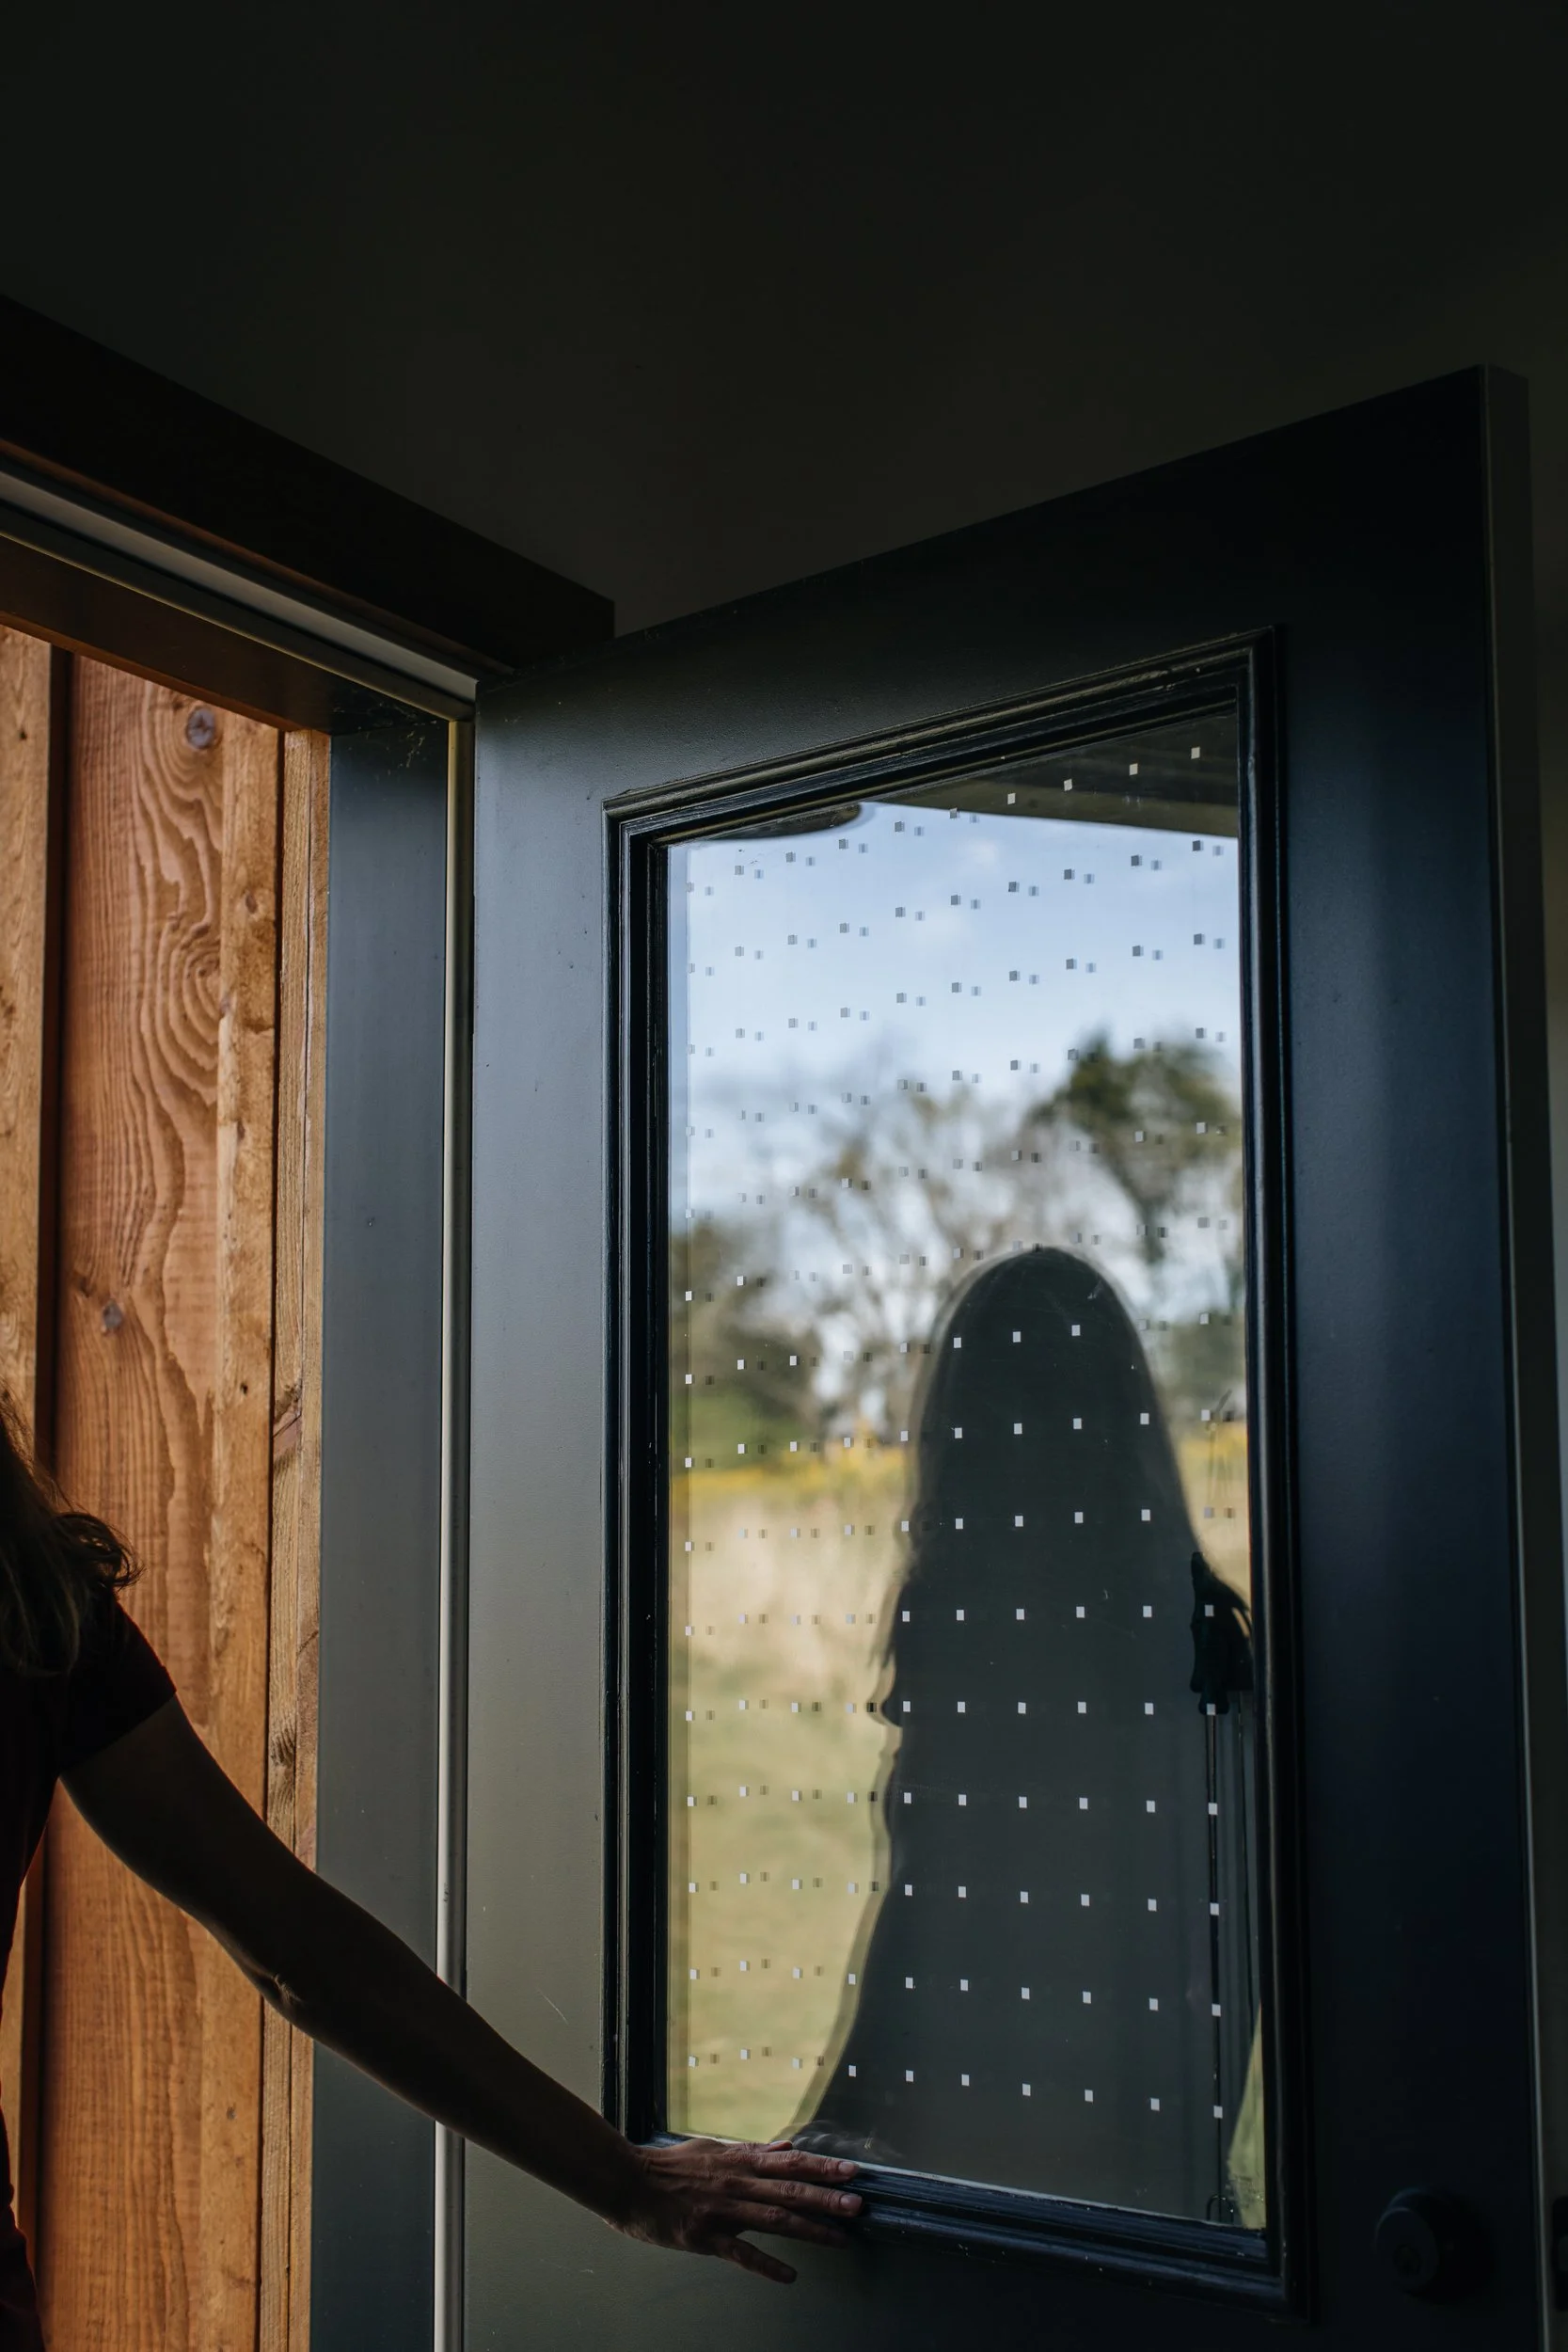
Then it was time to set up the included paper measuring strips with some tape on the window frame, and start sticking! It’s recommended that spacing be no farther apart than 2″ × 2″ to be most effective for preventing bird collisions. This was easier than anticipated, I thought I would have to be doing more calculating and precise alignment, but it was not hard with the measuring strips at the top and bottom (as I was going vertical) for guidance. And I found as I went along that if a strip wasn’t quite lined up how I wanted before pressing down firmly, it was easy to gently peel it up and readjust.
The kit included a little plastic squeegee tool to then go over the strips and “squeegee” out any air bubbles and firmly adhere the marker decals to the glass. I will say, this step made a satisfying sound! It also made me think of another use I can give this squeegee after I’m done with this project — a paper creaser.
After that, all that’s left then is the removal of the carrying tape. This is the most difficult part of the process, and it took me a bit to work out how to use the squeegee for pressure as I carefully released the tape at a 45-degree angle so that the decals would be left sticking to the glass (second to last photo in gallery below).


If a decal had trouble releasing, I used the edge of the squeegee to hold the top of it in place before pulling the tape away again (last photo in gallery above). It was a tad tedious, and if I had a larger window to cover, I definitely would require some breaks for my arms.
Overall though, this was not too difficult to do. And it looks so neat! From start to finish for me was just under an hour, but if I hadn’t been trying to get photographs for this post I know I could’ve shaved off a good chunk of time from that.
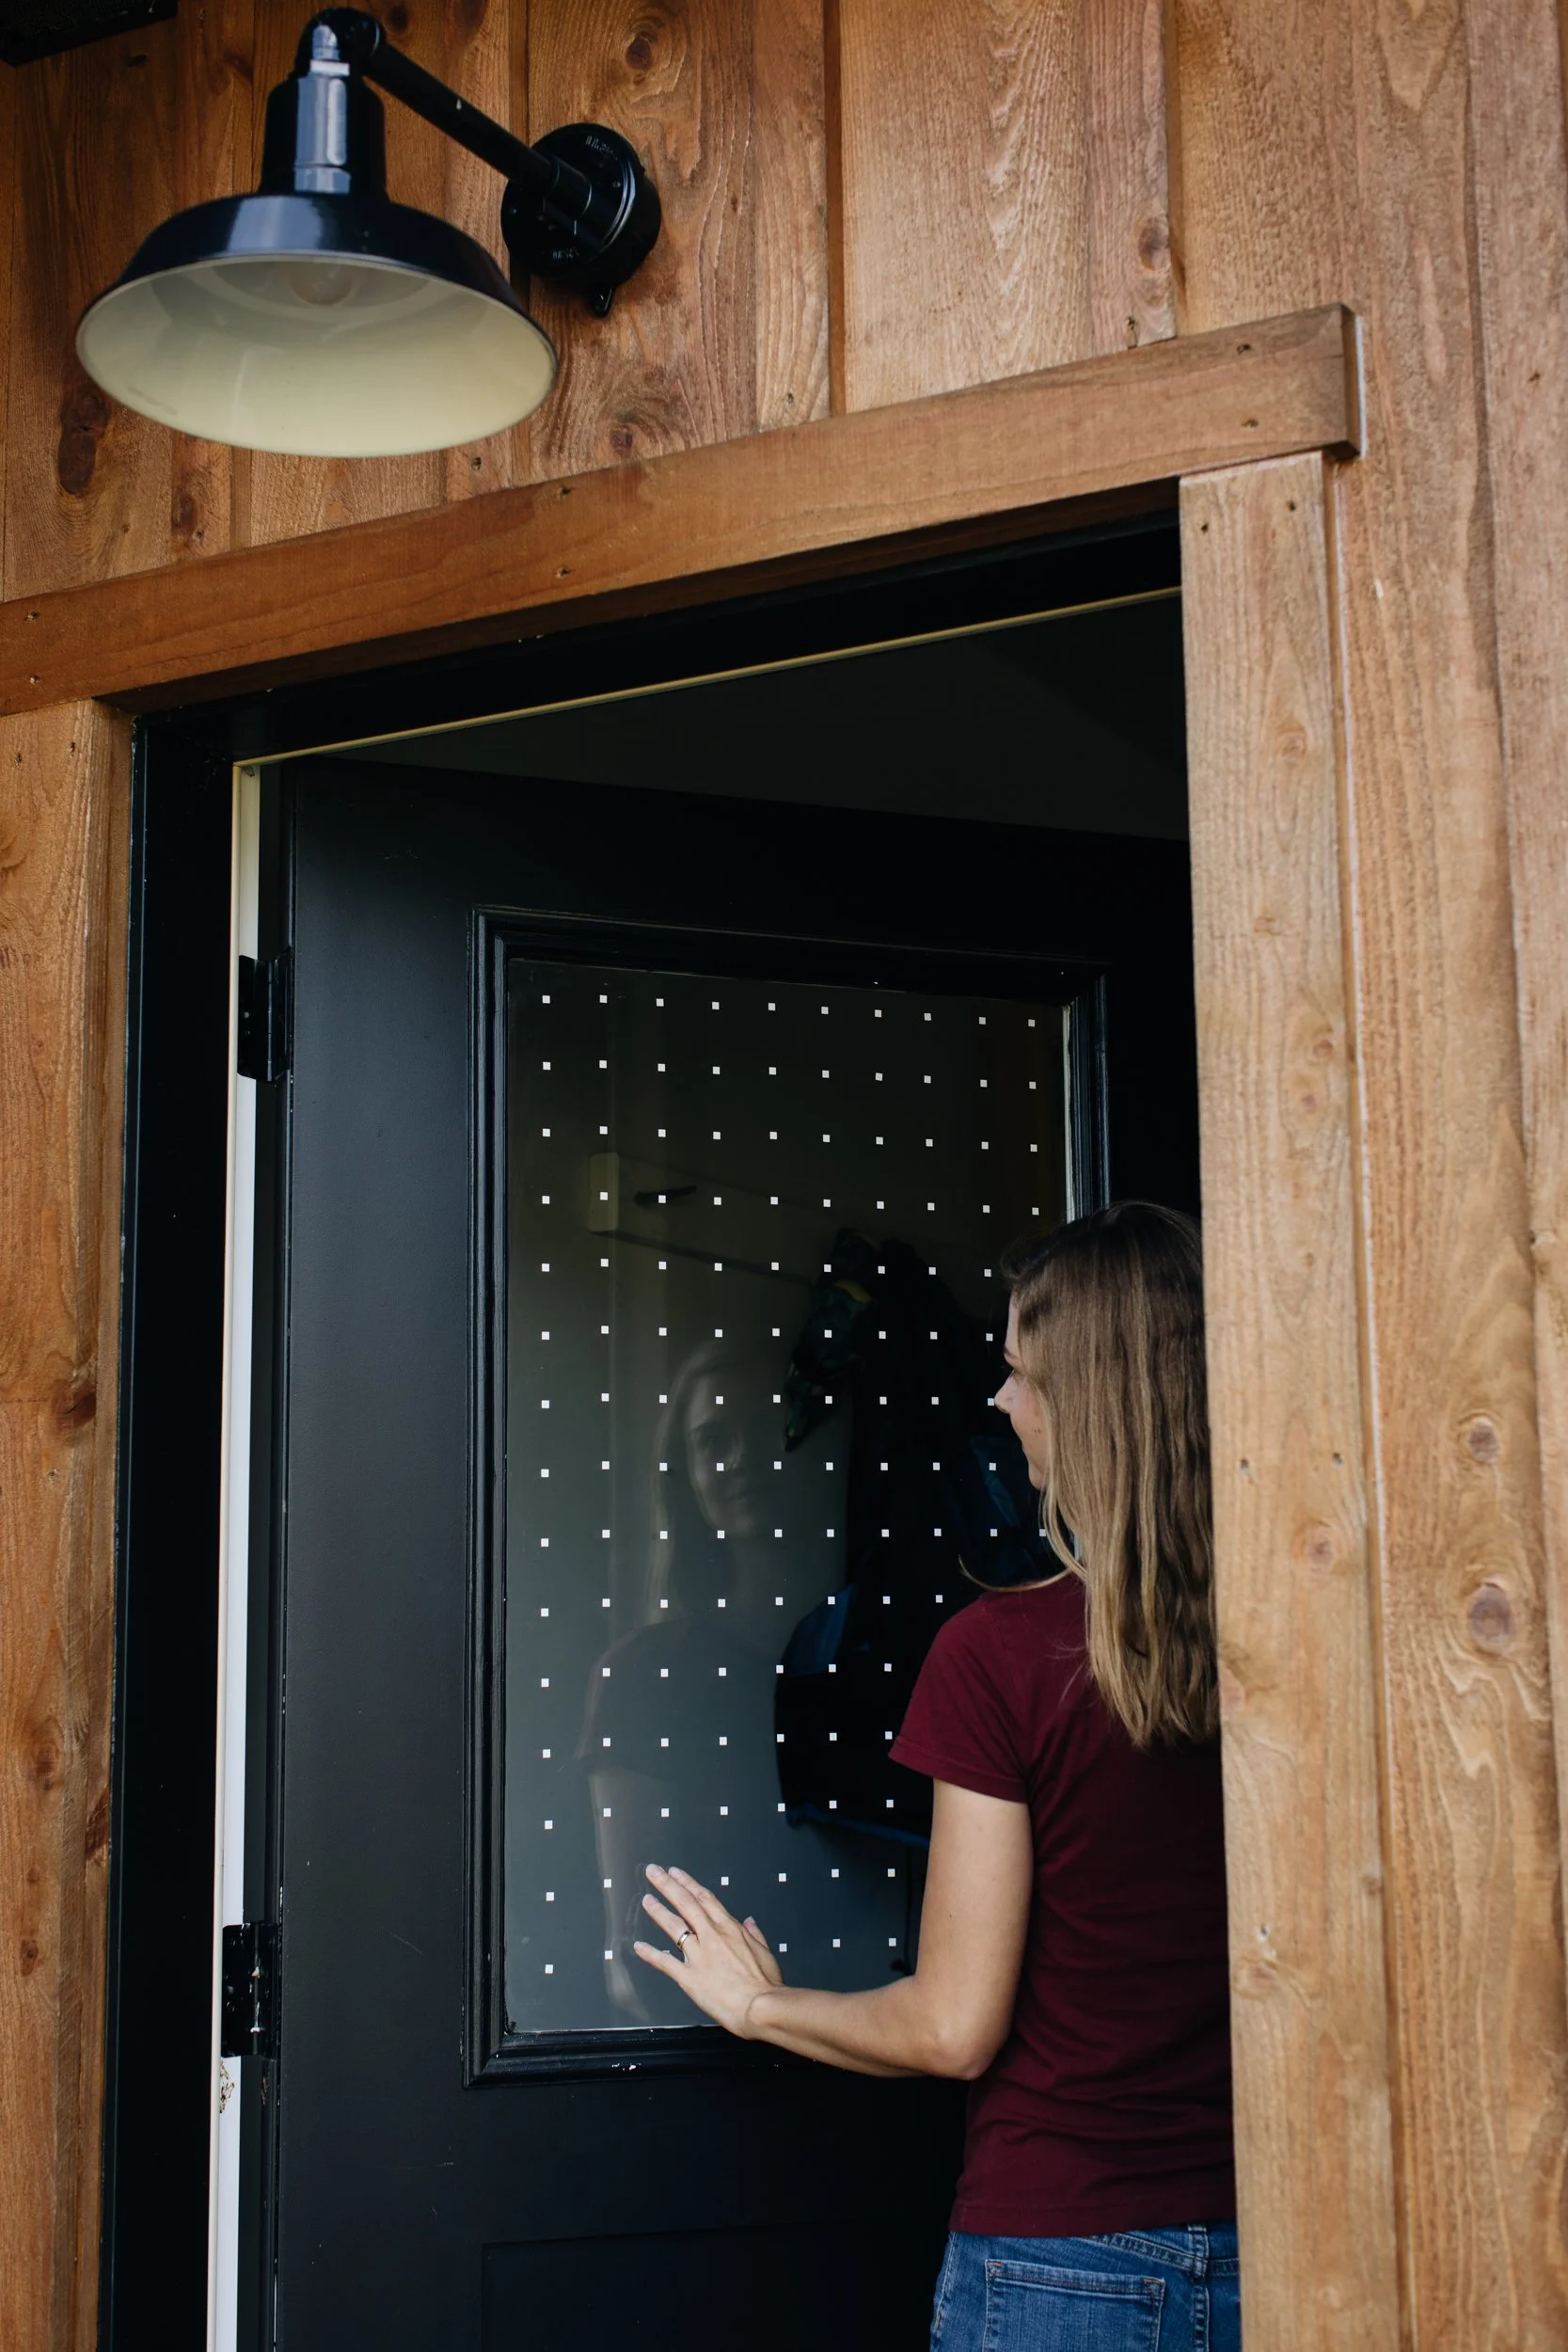
Window improved and more bird-friendly! Hoping no avian mistakes this glass anymore for a place to fly to. Will plan to add an update down the road to check on how effective it seems to be and how the decals hold up through the seasons, but for now, feeling much relief that this home is a little safer for our fellow feathered friends that share this land here.